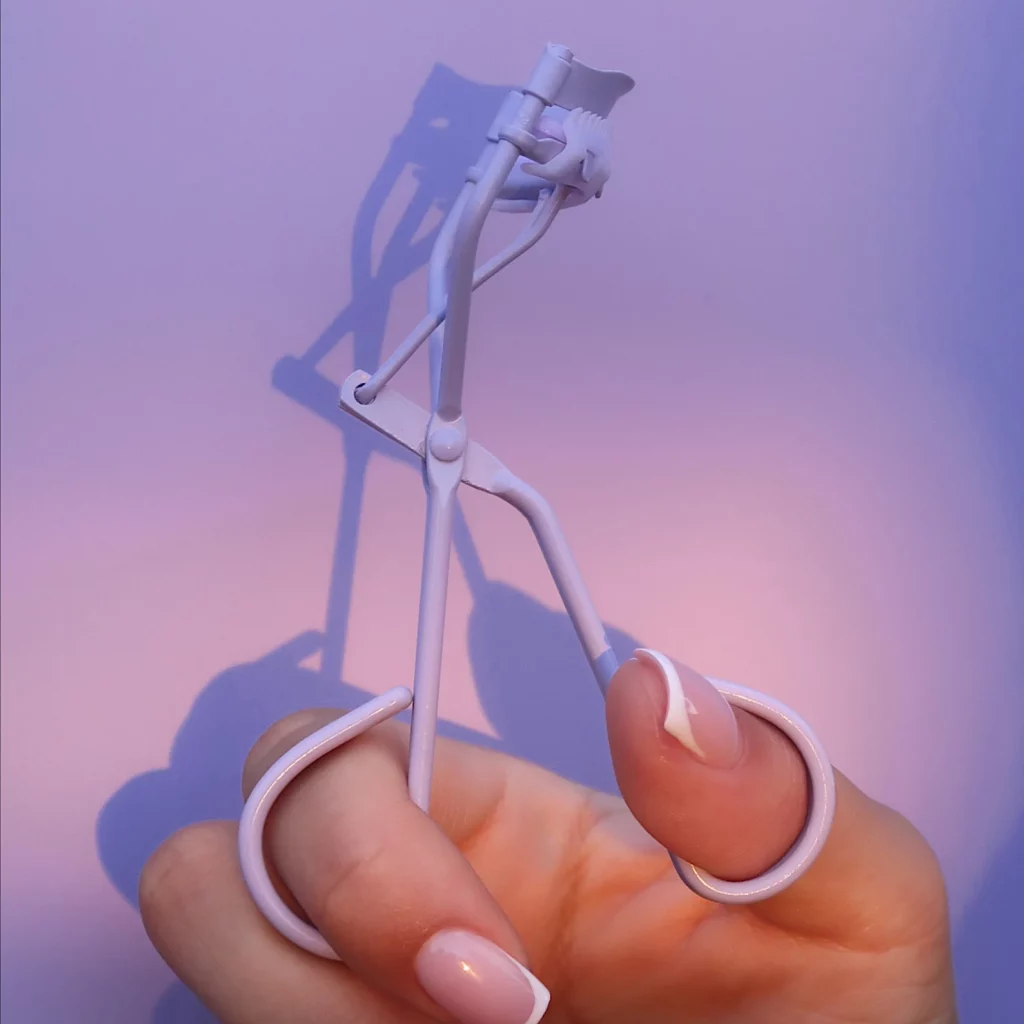
When it comes to makeup essentials, few tools hold as much transformative power as the humble eyelash curler. Often underestimated, this small device has the ability to elevate your look from ordinary to extraordinary with just a few simple steps. In this comprehensive guide, we’ll delve into the world of eyelash curlers, exploring everything from how to use them effectively to tips for achieving long-lasting curl and volume. So, grab your favorite mascara and get ready to unlock the secrets of stunning lashes!
Understanding the Basics
Before we dive into the nitty-gritty details, let’s start with the basics. An eyelash curler is a handheld device designed to lift and curl your lashes, creating the illusion of longer, more voluminous lashes. It typically consists of two curved metal clamps with handles for easy grip.
Choosing the Right Eyelash Curler
Like any beauty tool, not all eyelash curlers are created equal. When selecting the perfect curler for your lashes, consider the following factors:
- Size and Shape: Opt for an eyelash curler that matches the shape and size of your eye for optimal comfort and precision.
- Material: Look for curlers made from high-quality materials such as stainless steel, which provide durability and longevity.
- Pad Material: The pad, or cushion, of the curler should be made from soft silicone or rubber to prevent pinching and damage to your lashes.
- Handle Design: Choose a curler with an ergonomic handle for comfortable and controlled use.
Mastering the Technique
Now that you have your eyelash curler in hand, it’s time to master the art of curling your lashes. Follow these steps for best results:
- Prepare Your Lashes: Begin with clean, dry lashes free of any mascara or makeup residue.
- Heat the Curler: For an extra-long-lasting curl, gently warm the curler with a hairdryer for a few seconds.
- Position the Curler: Place the curler at the base of your lashes, as close to the root as possible, without pinching your eyelid.
- Curl Gently: Squeeze the curler gently for 5-10 seconds, then release. Avoid applying too much pressure to prevent damage to your lashes.
- Repeat if Necessary: For added curl and volume, repeat the process, focusing on the middle and outer lashes.
- Finish with Mascara: Complete your look by applying your favorite mascara to define and lengthen your curled lashes.
Tips for Long-Lasting Curl
To ensure that your curled lashes stay looking fabulous all day long, consider these helpful tips:
- Use Waterproof Mascara: Waterproof mascara formulas are more resistant to smudging and can help maintain your curl throughout the day.
- Avoid Over-Curling: Curl your lashes gently to avoid crimping or damaging them. Remember, less is more!
- Invest in a Quality Curler: A high-quality eyelash curler can make all the difference in achieving a long-lasting curl that holds up against heat, humidity, and daily wear.
- Curl Before Applying Mascara: For best results, curl your lashes before applying mascara to prevent clumping and ensure a smooth, even application.
- Touch-Up as Needed: If your curl starts to droop throughout the day, gently re-curl your lashes using the same technique.

